The 60-second version
Winter trail running on Georgian Bay is one of the most under-used local fitness opportunities — the lake-effect snow corridor produces consistent winter trail conditions from late December through mid-March, and the variety of available surfaces (groomed nordic trails, packed lakeshore beach, wooded singletrack with snow cover) means a serious runner can train through the winter without ever stepping on a treadmill. Three pieces of gear separate winter trail runners who thrive from those who quit by January: ice cleats, a layering system that handles the wind off the bay, and gloves that don’t freeze your hands at 5 km/h breeze speeds. Spend the money on these three; everything else is optional. The wind chill off Georgian Bay is the hardest local variable; the trails themselves are forgiving once you’re geared up.
What “winter trail running” actually looks like in this region
Three primary winter trail-running surfaces exist in the Wasaga corridor:
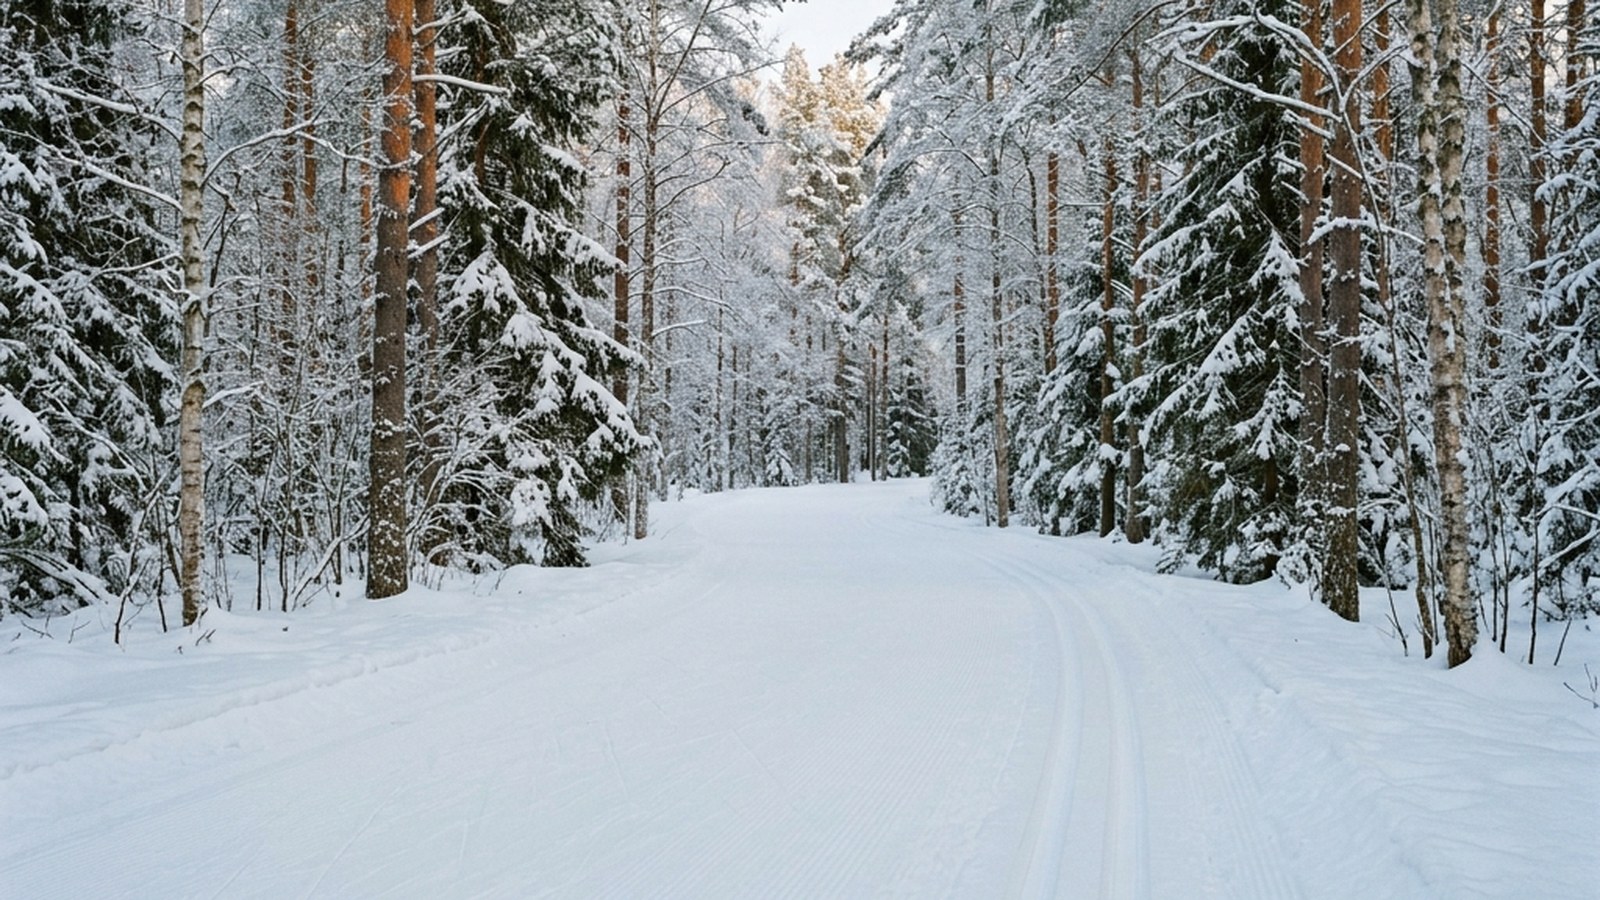
Groomed nordic trails (Wasaga Nordic Centre): the most consistent winter surface. Snow gets compacted by ski grooming into a packed corduroy that stays runnable December through mid-March. Standard trail-running shoes work; ice cleats become important only on the steeper sections after a freeze-thaw event. Day passes are required during ski season ($14/day) but you’re paying for the surface quality.
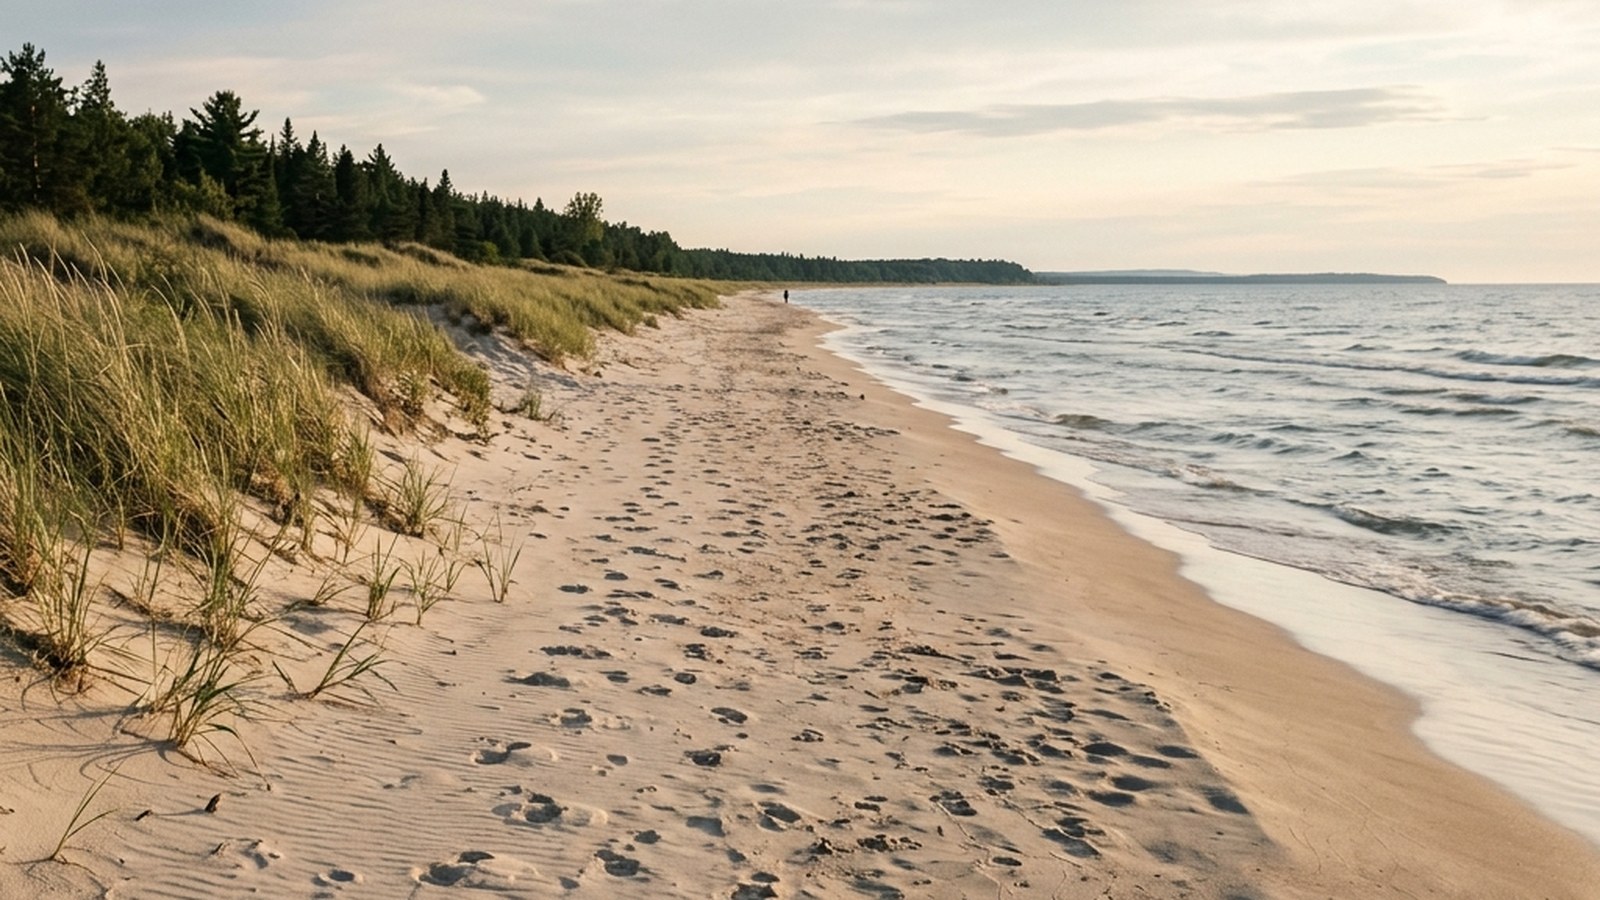
Beach corridor (Wasaga Provincial Park, Areas 1-6): the wet-sand strip near the waterline freezes overnight into a cement-hard surface that thaws back to soft by mid-afternoon. Morning running is on a pavement-equivalent surface; afternoon running is on slush. The 13.7 km of total beach is largely empty of summer crowds — this is winter’s underused gem.
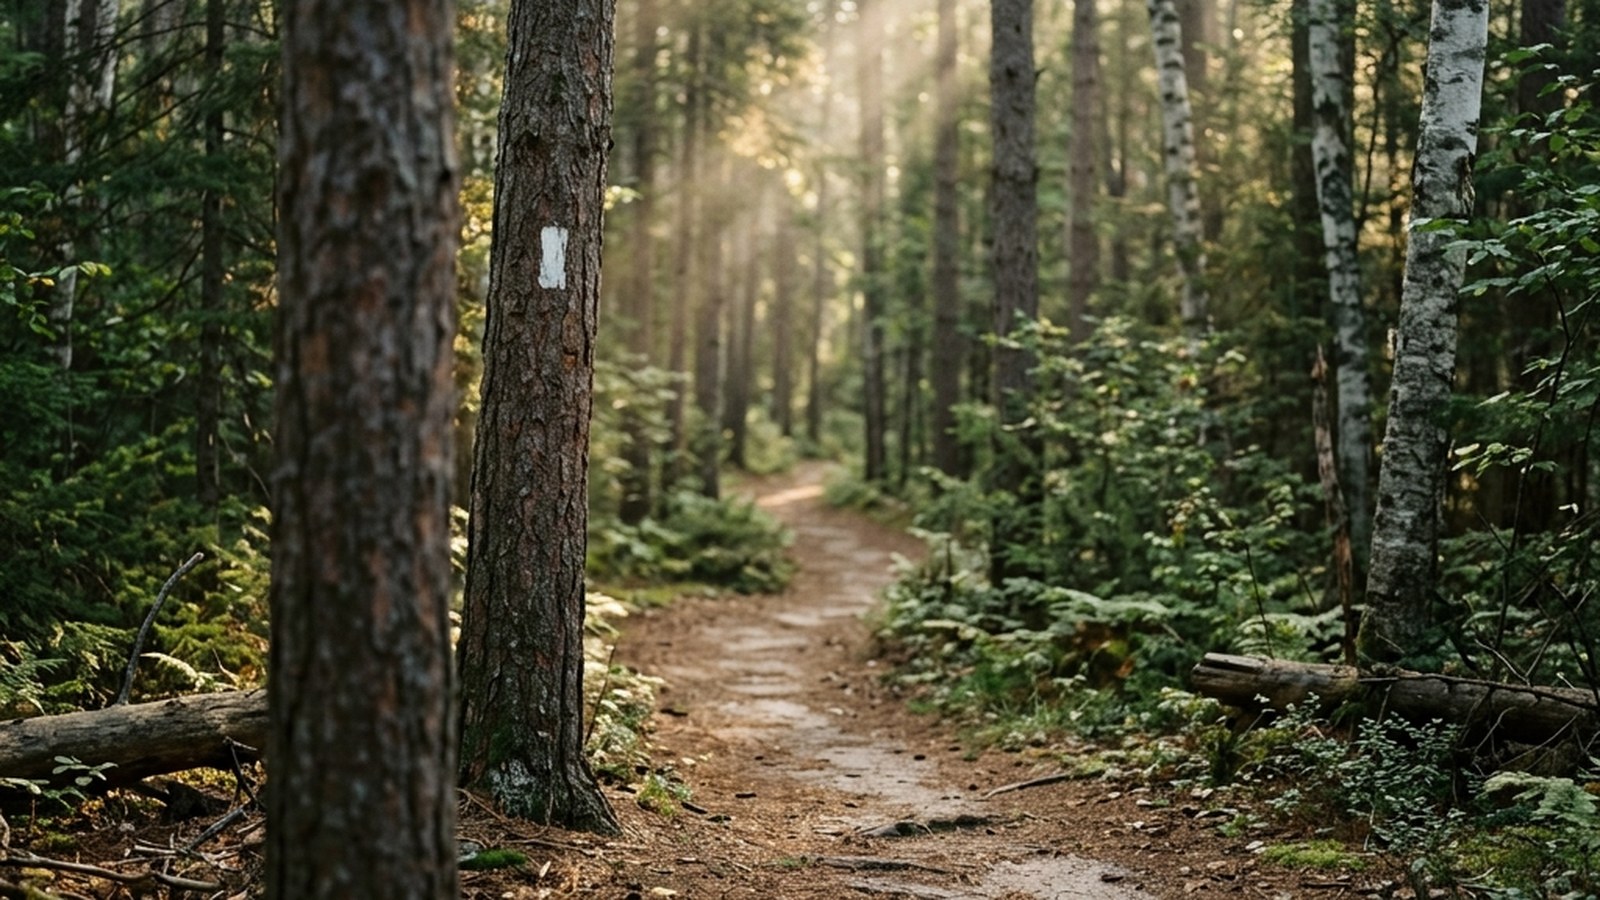
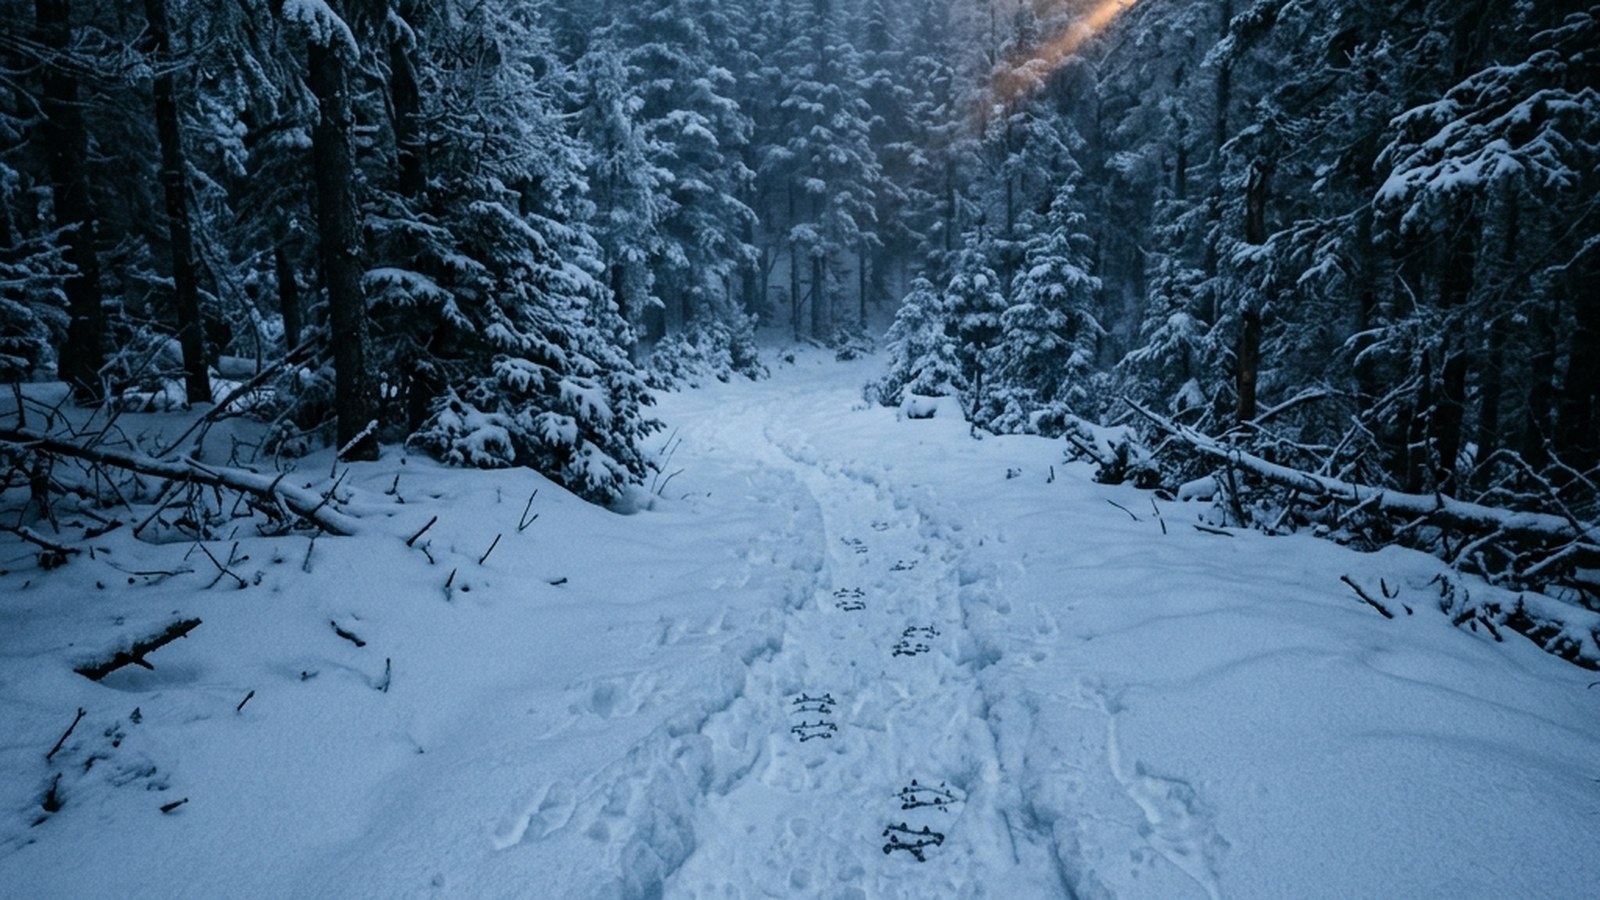
Wooded singletrack (Ganaraska Wasaga section, Blueberry Trail): snow cover varies by storm-track luck. After a fresh dump the trails get packed by snowshoers within 1-2 days and become runnable. Between storms the surface is variable. Best after a fresh weekend storm has had two days of foot traffic.
Ice cleats — the single highest-leverage gear
The first hard rule of winter trail running on Georgian Bay: get serious ice cleats before your first sustained winter session. Most runners try regular trail shoes for the first session, fall once, and either give up or buy cleats. Skip the giving-up step.
The three cleat tiers worth knowing:
- Microspikes (Kahtoola or Yaktrax XTR): rubber harness with chains and small spikes. Handles ~80% of winter conditions including packed snow, ice patches, and freeze-thaw surfaces. The sweet-spot tier for most local conditions.
- Spike traction (Yaktrax Run, Korkers Ice Trekkers): smaller spikes integrated into a rubber lattice. Lighter than microspikes but less aggressive on hard ice. Adequate for runners who only encounter occasional ice patches.
- Full crampons (Petzl Leopard, Hillsound Trail Crampon Pro): metal crampons designed for trail running. Overkill for local conditions but the right tool if you’re running the Bruce Peninsula or Pretty River Valley in deep winter.
For the local Wasaga rotation, microspikes are the right answer. Buy them in October before they’re sold out; size to your shoe (not your foot — trail shoes have different last shapes); test them on a short session before committing to a long one.
Layering for the wind off the bay
Georgian Bay produces winter wind that’s harder than the calendar temperature suggests. A 0°C calendar day with 25 km/h east wind feels like -10°C at running effort; the same calendar day with 5 km/h wind feels comfortable in three layers.
The three-layer system that works for most local runners:
- Base layer — merino wool or technical synthetic. Long-sleeve top, full-length tights or running pants. The base layer is what you sweat into; it has to wick.
- Mid layer (variable) — light fleece or grid-pattern thermal. Worn when the calendar is below -5°C, skipped when above. The wrong call here is the most common winter-running mistake; aim to be slightly cool at the start of the run.
- Wind shell — lightweight wind-blocking jacket (not a heavy down or insulated piece). The shell is what handles the bay-wind variable. A shell with a stowable hood and adjustable cuffs is dramatically more flexible than a fixed-fit piece.
Get the shell right and the rest is forgiving. A heavy insulated jacket without a wind shell underperforms a light wind shell over a base layer at moderate running effort — the running heat output is meaningful and over-insulating produces sweat-soak that cools dangerously when you slow down.
Hands, feet, and head — where local runners suffer
Three parts of the body get the worst of the cold at running effort:
Hands. A light glove plus a wind-shell mitten over top is the standard dual-layer system. The glove handles fine motor (phone, gels); the mitten over top handles the actual heat retention. A fixed-warm heavy mitten without the glove underneath leaves you reaching to a phone with bare hands and giving yourself frostbite-class cold spots.
Feet. Trail-running shoes lose effective insulation when wet. Wool or synthetic running socks (knee-high in deep cold) handle moisture better than cotton. Some runners use a thin liner sock plus a thicker outer sock; this works but creates blister risk if the seams aren’t aligned.
Head. A merino-wool or fleece skull cap plus a buff (multi-purpose tube of fabric) covers the head, ears, neck, and lower face flexibly. The buff is the variable — pulled up over the mouth and nose for face protection in a headwind, dropped to the neck when you’re working harder.
Hydration in winter (the surprising one)
Winter hydration is harder to manage than summer. Three reasons: thirst signal is suppressed in the cold, sweat losses are still significant at running effort, and water in a regular bottle freezes within 30-45 minutes at -10°C. The fix:
- Insulated bottle inside the hydration vest, not on a belt where it’s exposed to wind. Body heat keeps the contents above freezing for 2-3 hour runs.
- Drink on schedule, not on thirst. Set a 15-20 minute timer; sip even if you don’t feel thirsty.
- Hot beverage in the car for after the run. Faster rewarming and rehydration than cold water once you stop and your body stops generating running-effort heat.
Winter-specific safety
Cell coverage is solid on the Beach Drive corridor and the Nordic Centre but spotty on the Ganaraska Wasaga section and Blueberry Trail in deep forest. Before any solo winter run:
- Tell someone your route and ETA. Most winter trail-running incidents are minor (ankle sprain, sudden weather change) but the cold-exposure clock starts immediately.
- Carry a phone in a body-warmth pocket. Phone batteries die quickly in cold; keep them against the body to maintain charge.
- Carry an emergency space blanket. Mylar blanket weighs nothing, takes no space; if you twist an ankle 8 km from the trailhead it’s the difference between a manageable wait and hypothermia.
- Avoid pre-dawn solo on remote trails. Bear activity is low December-March but coyotes and the occasional unleashed dog encounter happen at first light on quieter trails.
Building into winter running gradually
Most failed winter runners try to maintain summer training volume from the first cold week onward. The bodies don’t adapt that fast. The realistic progression:
- Weeks 1-3 (early December): 2 sessions per week, 30-45 minutes each, on the most controlled surface available (Beach Drive corridor). Get the layering and traction calibrated.
- Weeks 4-6 (mid-December through early January): add a third session, extend to 60 minutes, introduce the Nordic Centre groomed trails for variety.
- Weeks 7-10 (mid-January through early February): add a fourth session and one longer effort (75-90 minutes) per week. Add the wooded singletrack sections after fresh storms.
- Weeks 11+ (mid-February onward): sustainable winter volume. The body has adapted to cold-effort running and the gear protocol is automatic.
Practical takeaways
- Three primary winter surfaces: Nordic Centre groomed trails, Beach Drive frozen wet-sand, wooded singletrack after storms.
- Microspikes are non-negotiable. Buy in October before they sell out.
- Three-layer system: base layer, optional mid layer, wind shell. Shell matters most for the bay wind.
- Insulated bottle inside the vest, drink on schedule. Winter hydration is harder than summer.
- Build gradually over 8-10 weeks. Don’t try to maintain summer volume from week one.
References
Castellani 2007Castellani JW, Young AJ. American College of Sports Medicine position stand: prevention of cold injuries during exercise. Medicine & Science in Sports & Exercise. 2006;38(11):2012-2029. View source →Cheuvront 2003Cheuvront SN, Carter R, Sawka MN. Fluid balance and endurance exercise performance. Current Sports Medicine Reports. 2003;2(4):202-208. View source →Environment CanadaEnvironment Canada. Wind chill calculation methodology and risk thresholds for outdoor exposure. View source →